IN GROUND TRAMPOLINE INSTALLATION
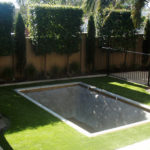
‘Surprisingly, we can install our trampolines just about anywhere. Of course, a flat location normally means a straight forward ‘dig’. But we do enjoy a challenge.’
– Dave Mason (Mr. Trampoline)
Normal In Ground Trampoline Installation Sequence:
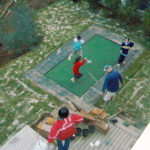
- We will arrive with the frame and bolt the sides together on site. This will give us the size of the frame to move around on site to find the best location.
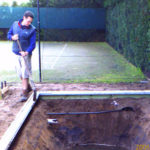
- We then mark the leg positions & move the frame.
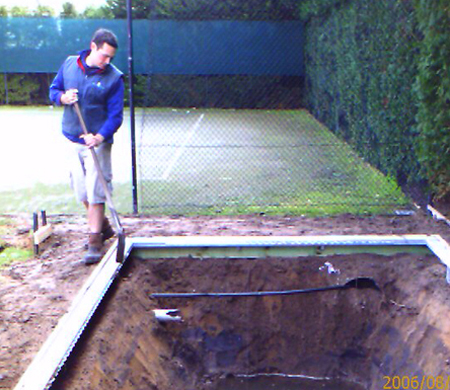
- Then we dig the 6 or 8 leg holes & a branch to allow the frame to set flush with ground level
- Once this is completed, we attach the legs to the frame & lower the whole frame into the leg footings.
- We then level the frame with a spirit level & fill the leg holes with concrete.
- We mix a strong blend of sand, large stone and cement, we do not recommend rapid set.
- Then we leave for a day or 2 while the leg footings set.
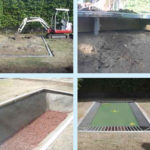
- When we return we start digging inside the frame according to the depth & shape needed for the size & model of frame chosen. But basically, the hole is 1100-1200mm deep & has an angled wall of about 800mm narrower at the base (the batter!)
- When the hole is complete, we dig a small branch around the outside of the frame & install a timber plinth. This acts as a low retaining wall (non structural) to stop to soft surface loam from vibrating into the hole over time.
- We attach a light wire or mesh to the timber and the walls of the pit and then apply a cement render about 40-50mm thick to the walls. This will stop the pit walls eroding in the event of very heavy rainfall or from a damaged sprinkler running for ages in the one spot 🙂
- If the base is in clay, where possible we run a pipe from the base to a lower outlet to allow water to expel from the pit. If this is not possible we install a pump with a float switch to regularly and automatically remove water. This will stop water & mosquitos from breeding in the bottom & annoying your summer BBQ’s.
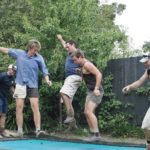
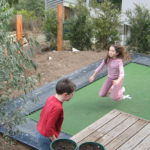
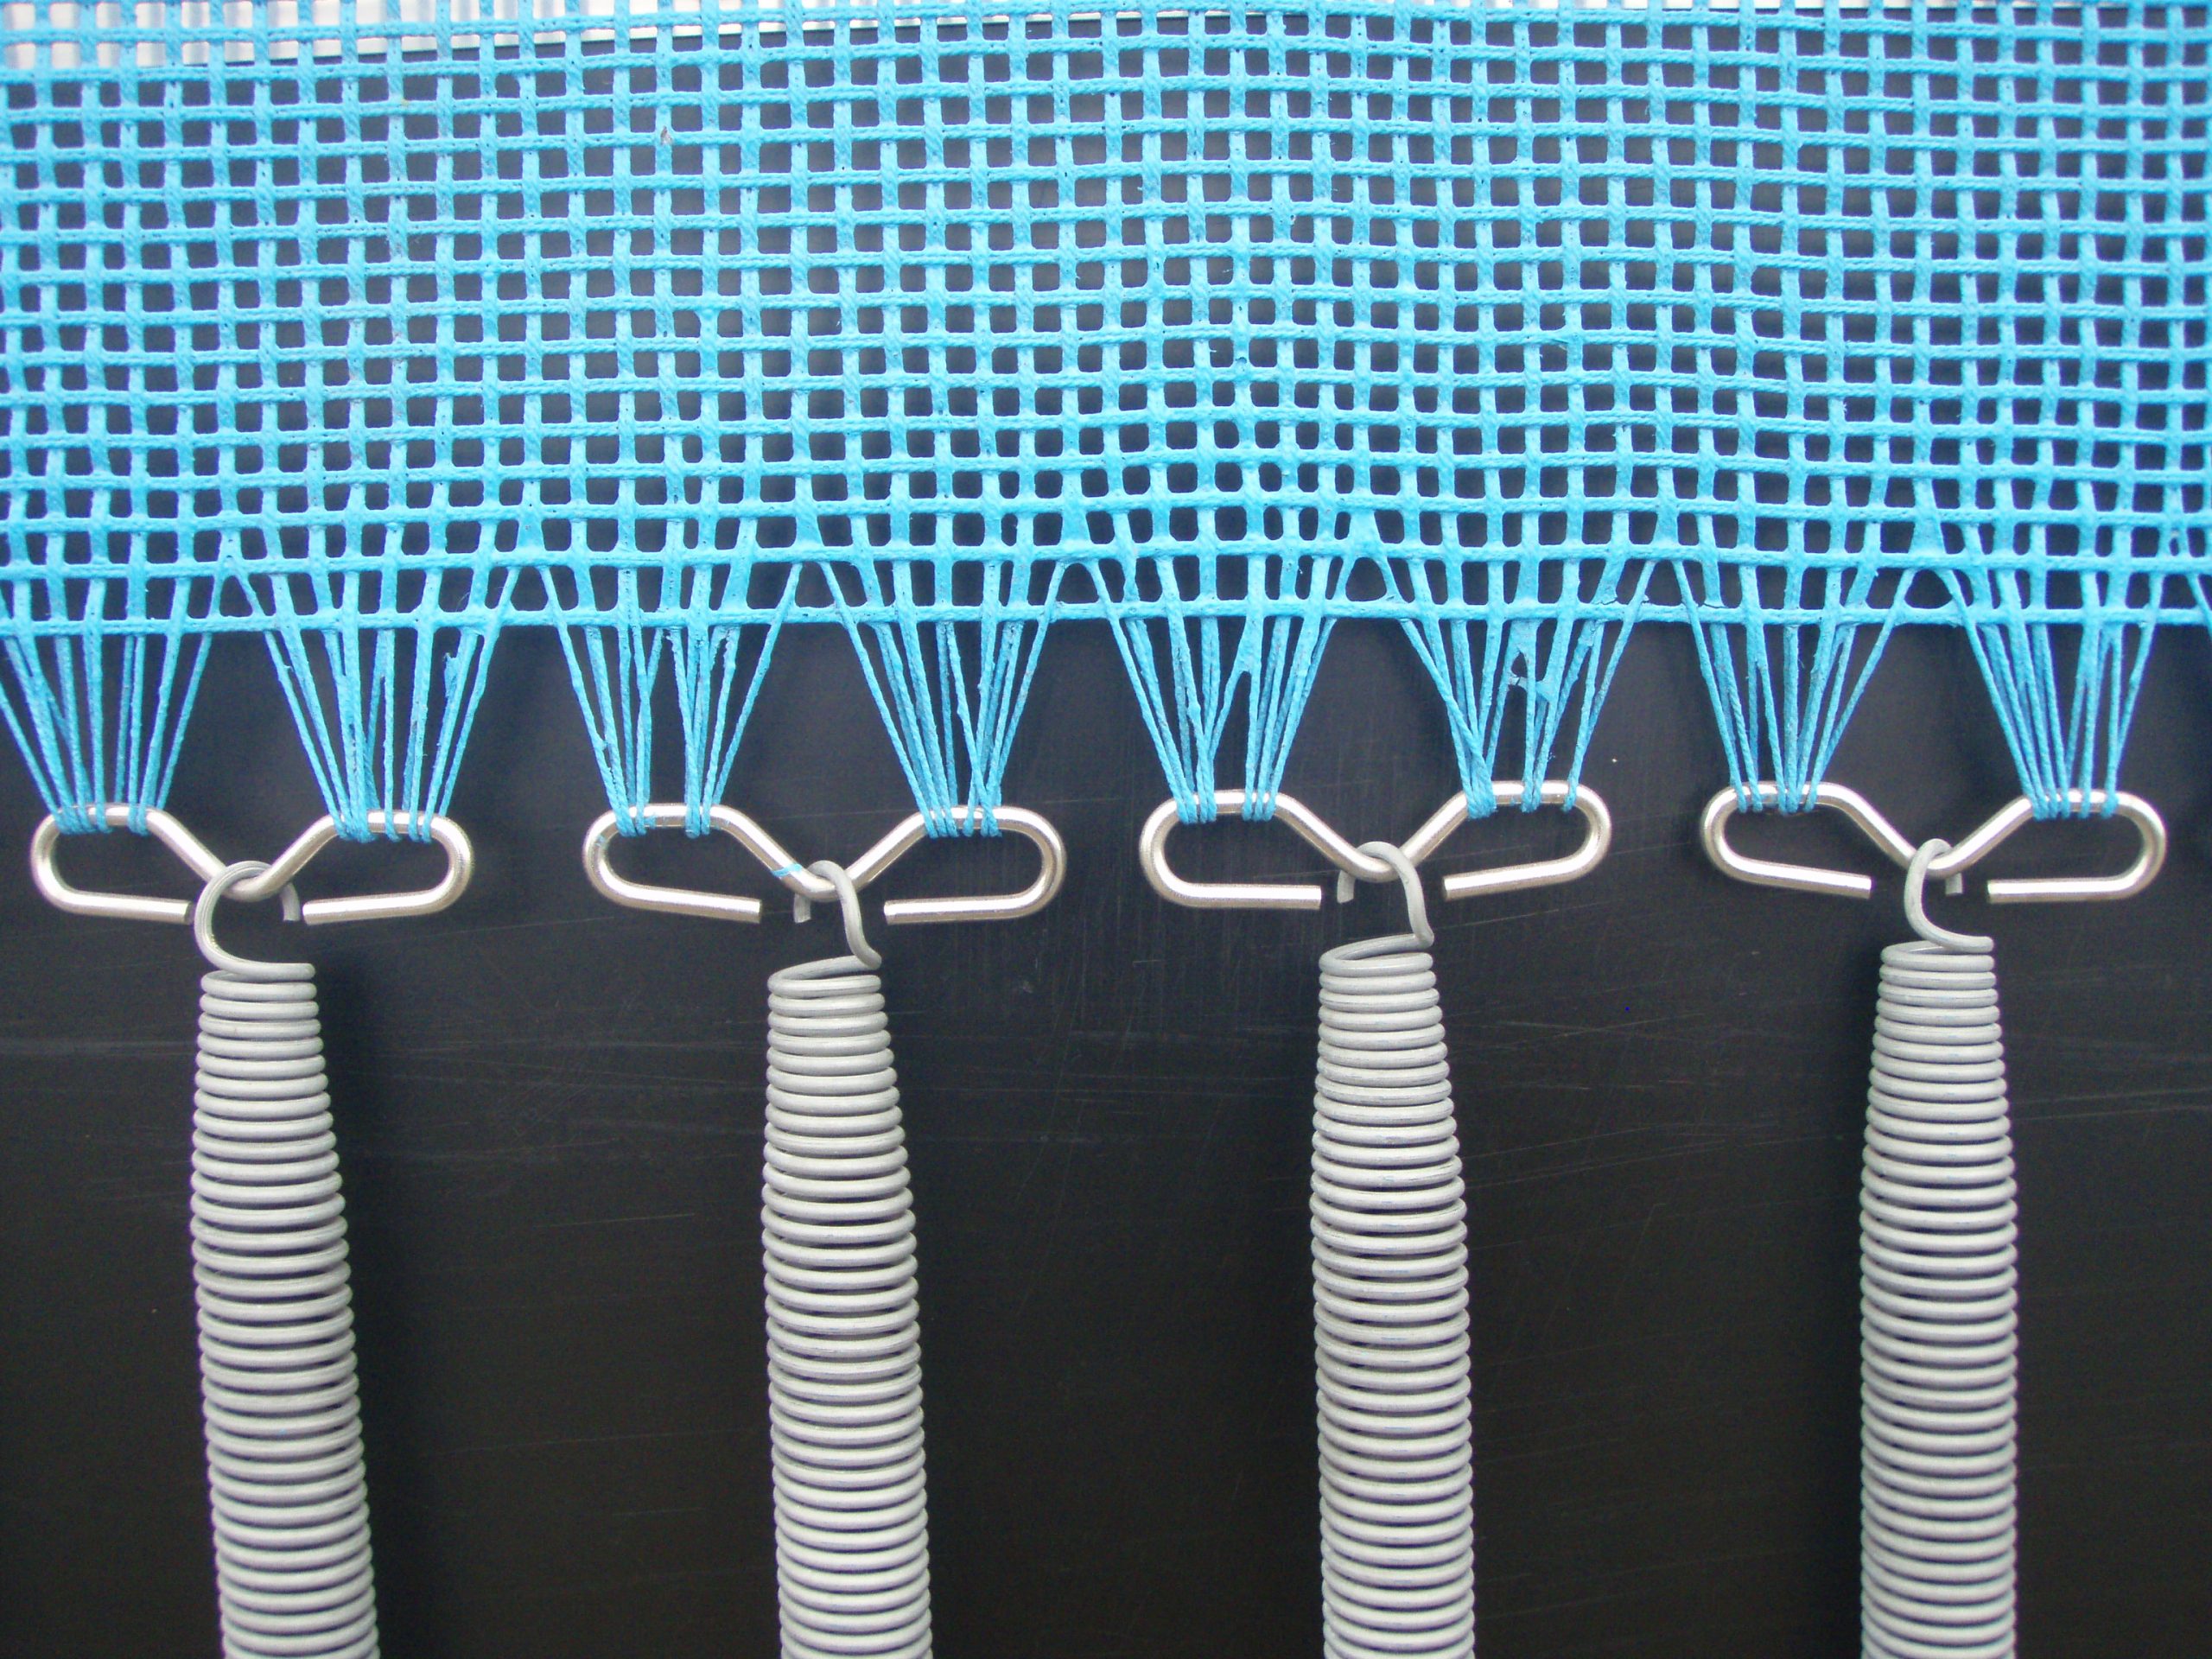
- Once this is all complete, we fit off the mat, springs and rubbers, then have a mandatory ALL-IN test bounce. This is the best part of our job.
- By this time the kids are usually busting to get on, so while we pack away our gear & tidy up, the kids go berserk 🙂
Note: Installation normally takes between 2-4 days depending on soil texture and location.